
Teacher Portal guide
← Help Center · Getting started · Updated November 14, 2026 · Operated by Kemp Advisory Group, LLC
The Teacher Portal lets you make a class, share one join code, and see how your students are doing. There are no rosters to upload and no student emails to collect. Screenshots use sample classes, and student names are hidden. Select any picture to open it full size.
Download the PDF user guide (19 pages, easy to print)
Quick-start checklist
- Sign in and enter your invite code
- Add your first class
- Post the join code for students
- Watch students appear on the Class list
- Assign one organizer or activity
- Check Results after students practice
- Plan one lesson in Lesson Plans
- Add an event to your Planner
Start here: your first 5 minutes
- Open kempbellacademy.com/teacher/ in Chrome, Edge or Firefox.
- Choose Sign in with Google, Sign in with Microsoft, or enter your email and choose Email me a code. We email a 6-digit code, so no password is needed.
- The first time, a short form asks for your invite code, your name (as students know you) and your school (optional). Enter them and choose Continue. Teacher accounts are by invitation; your school or district gives you the code.
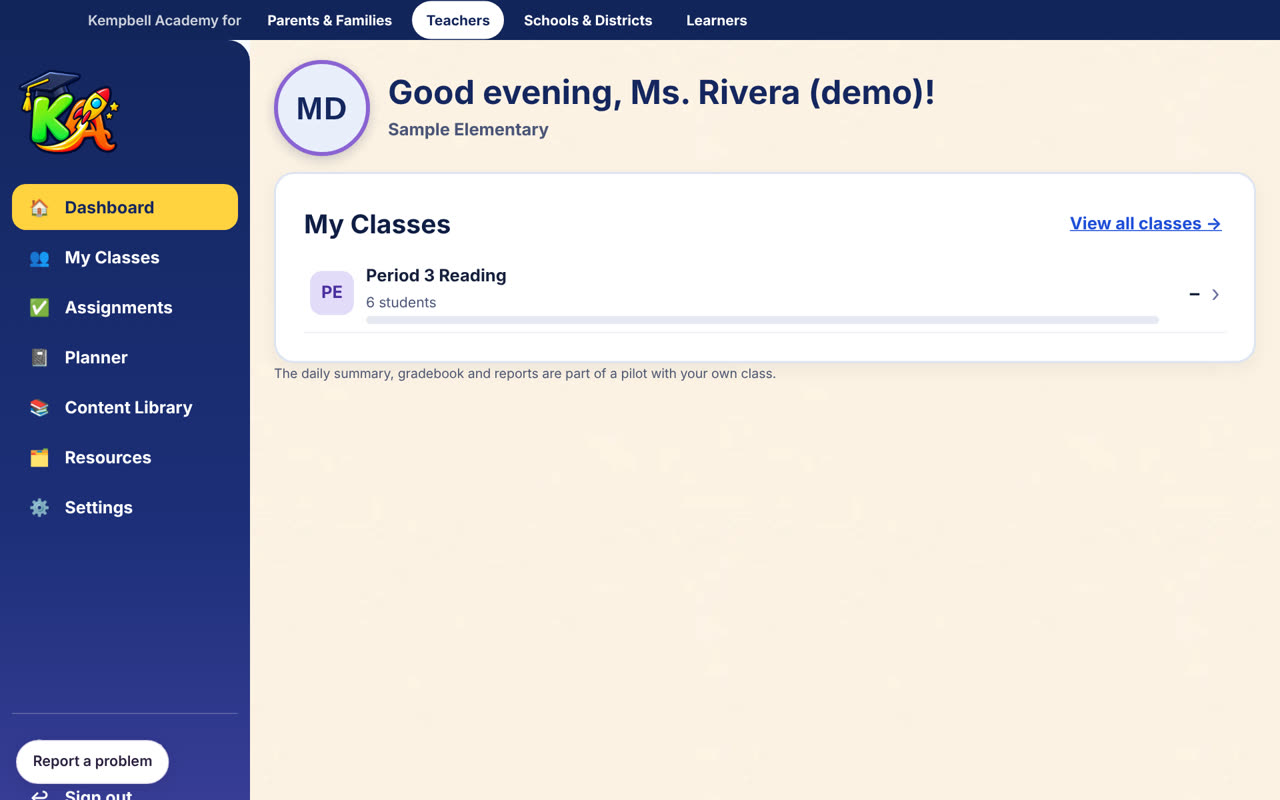
- You land on your Dashboard. Select My Classes, then add your first class.
- Give students the class join code. They enter the code, their first name and the first letter of their last name. They never need an account or an email address.
A tour of the portal
| Menu item | What it is for |
|---|---|
| Dashboard | Your home screen: today at a glance (classes, students, work to grade, class average and mastery alerts) and a gradebook snapshot. |
| My Classes | Make classes, see each class list, and get the join code. |
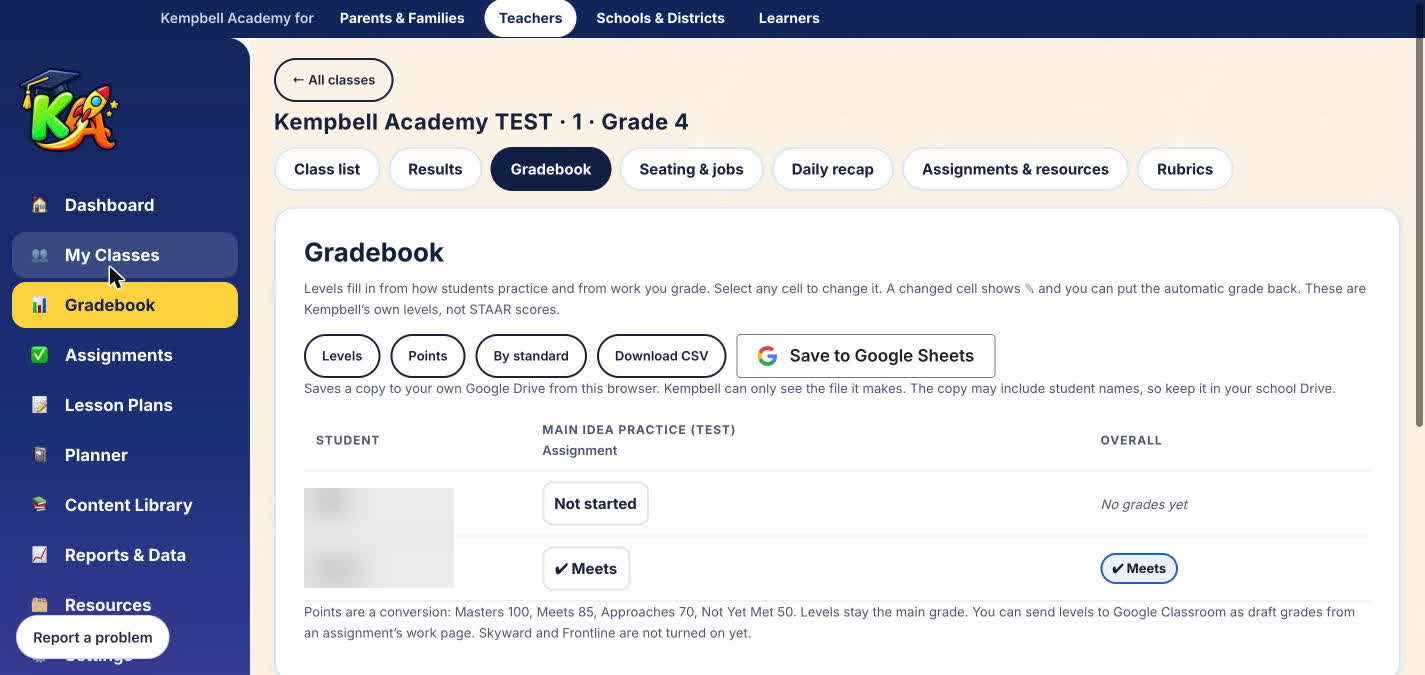
| Gradebook | Each student's levels from practice and graded work. Switch between Levels, Points and By standard. |
| Assignments | Give students an organizer, a group-talk activity or a note, with an optional due date. |
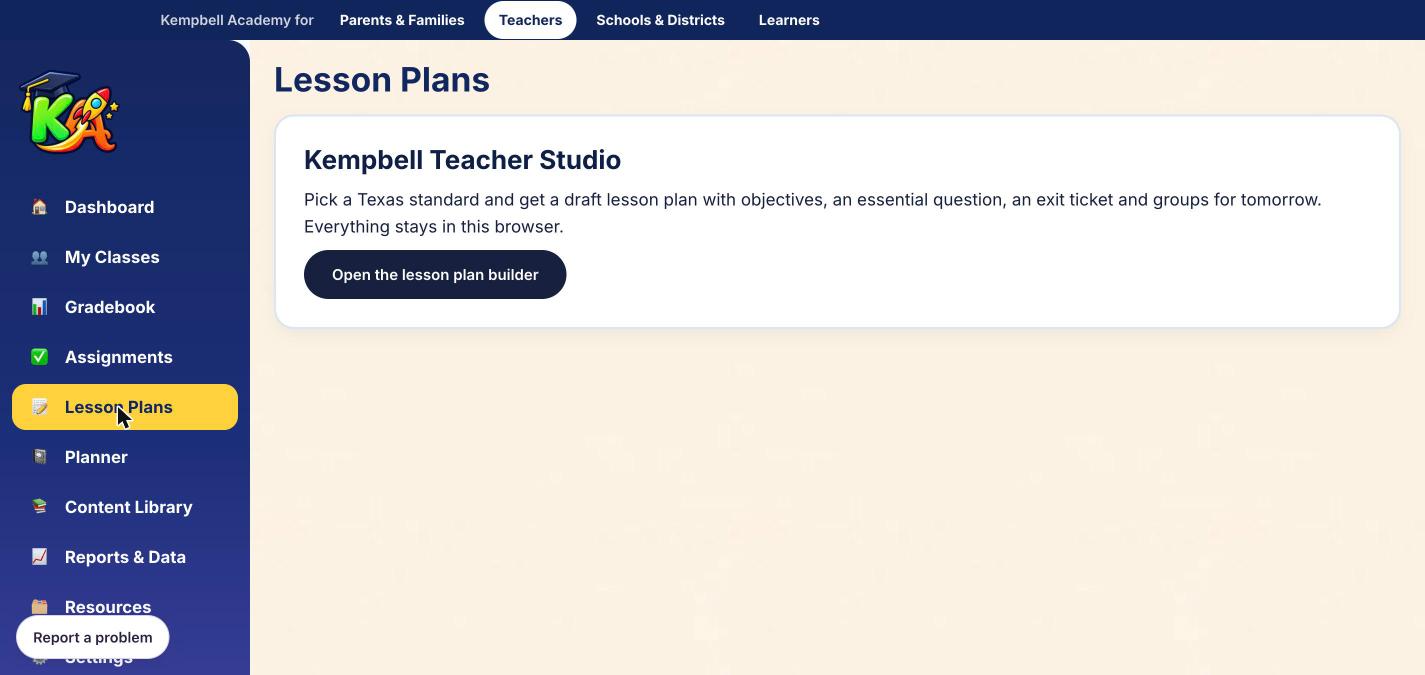
| Lesson Plans | Kempbell Teacher Studio: pick a Texas standard and get a draft plan. |
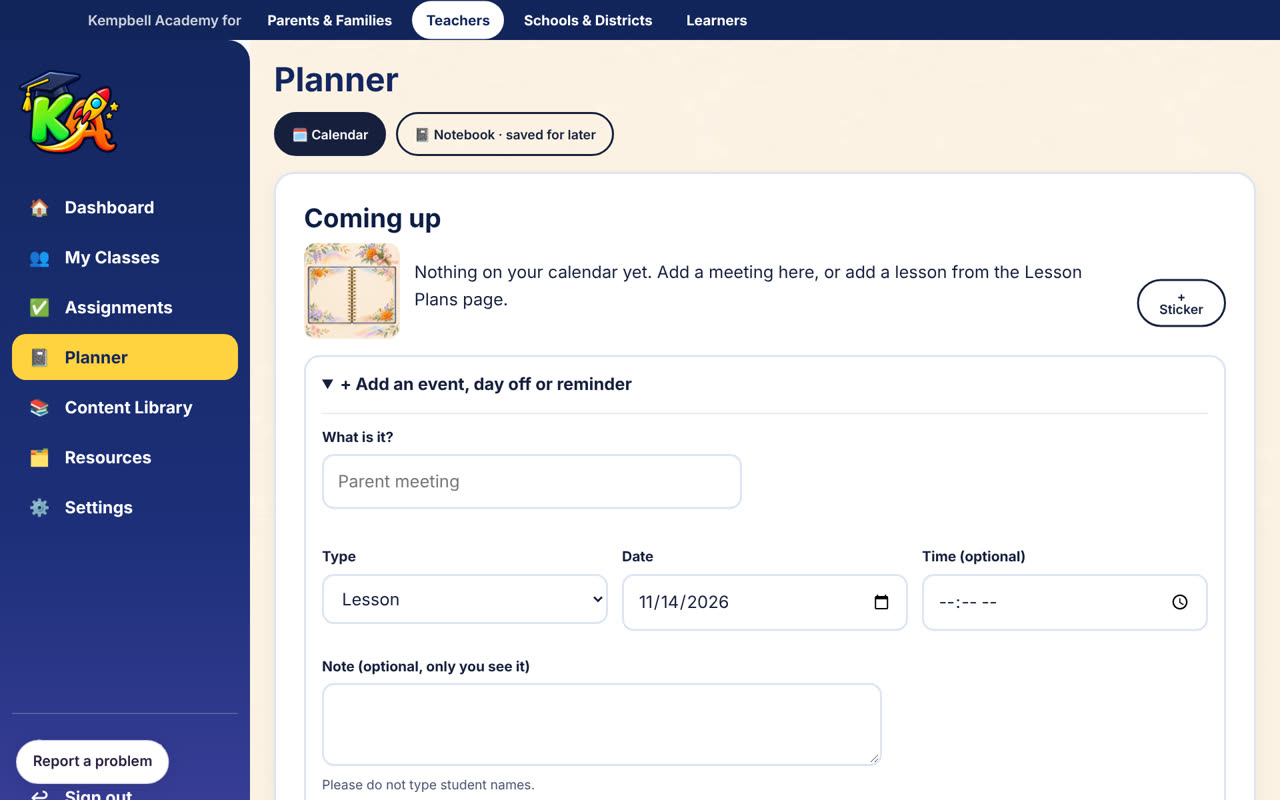
| Planner | A calendar and a notebook for ideas saved for later. Syncs with Google Calendar or Outlook. |
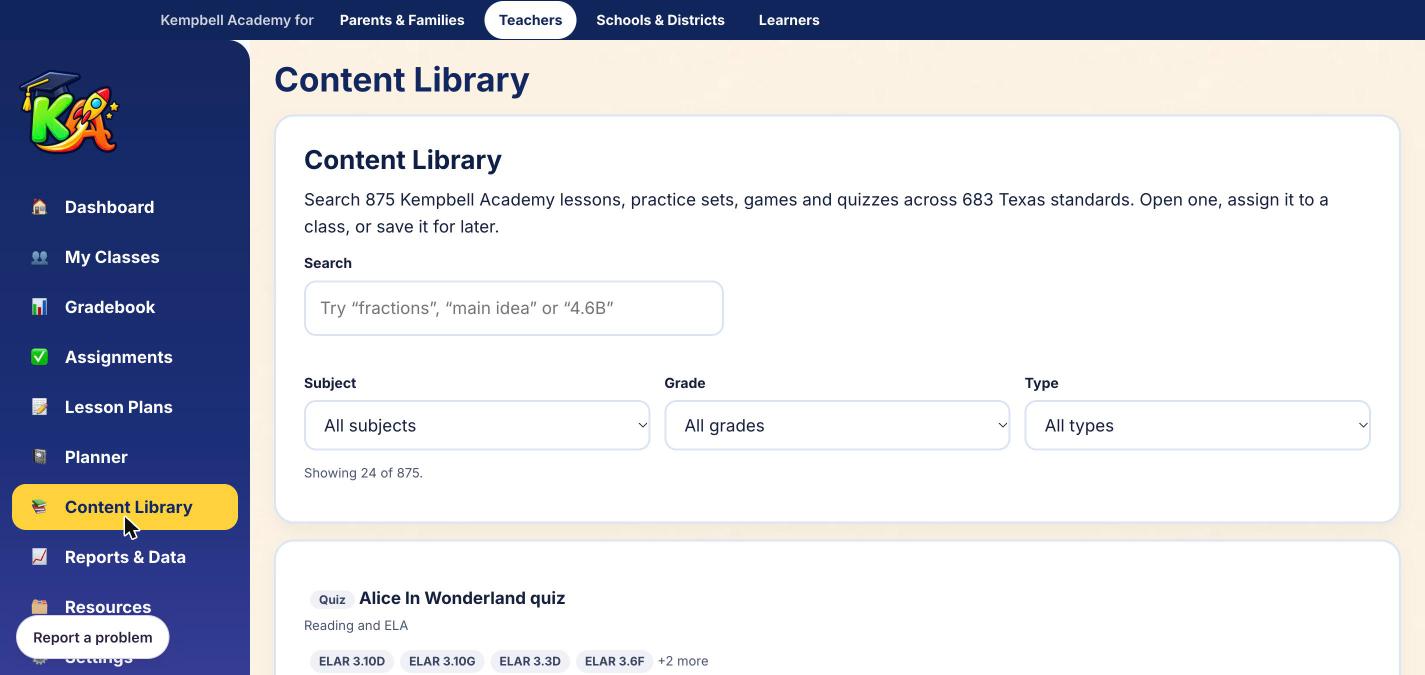
| Content Library | Search lessons, practice sets, games and quizzes by topic or Texas standard. |
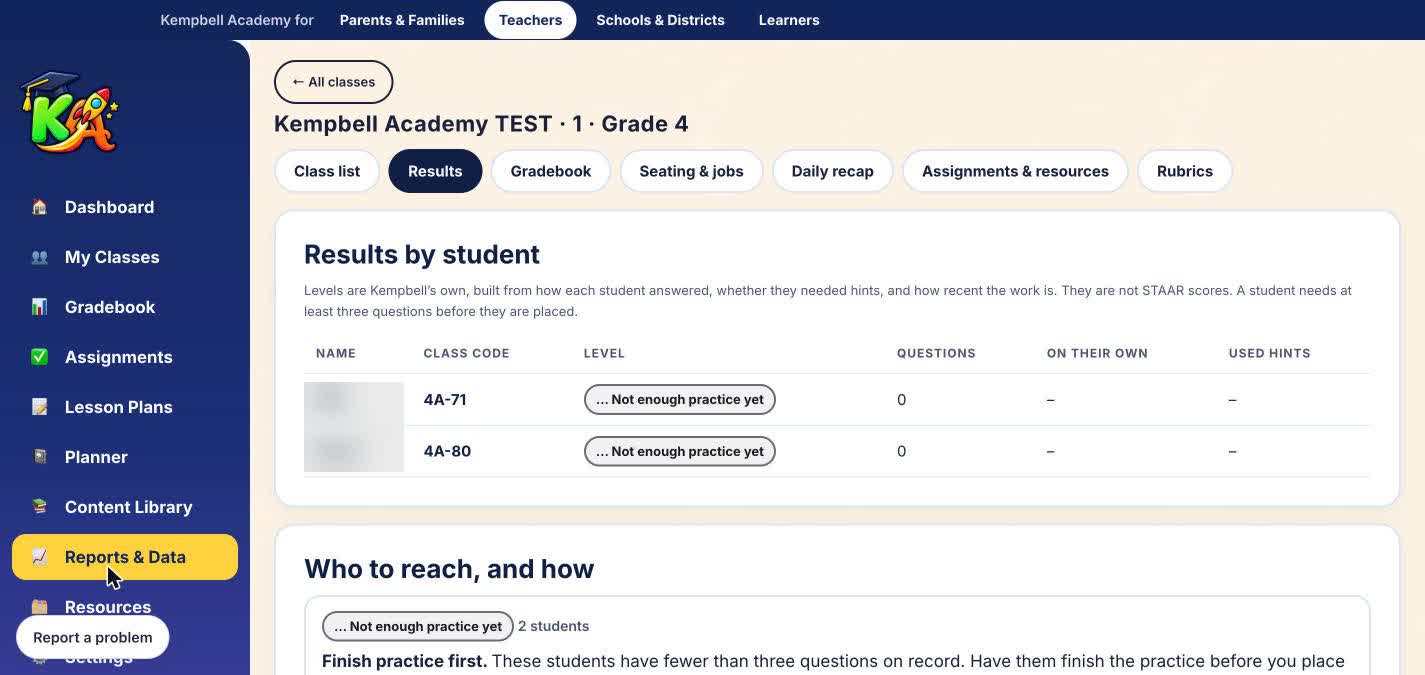
| Reports & Data | Results by student with suggested next steps. |
| Resources | Opens the class's Assignments & resources tab. |
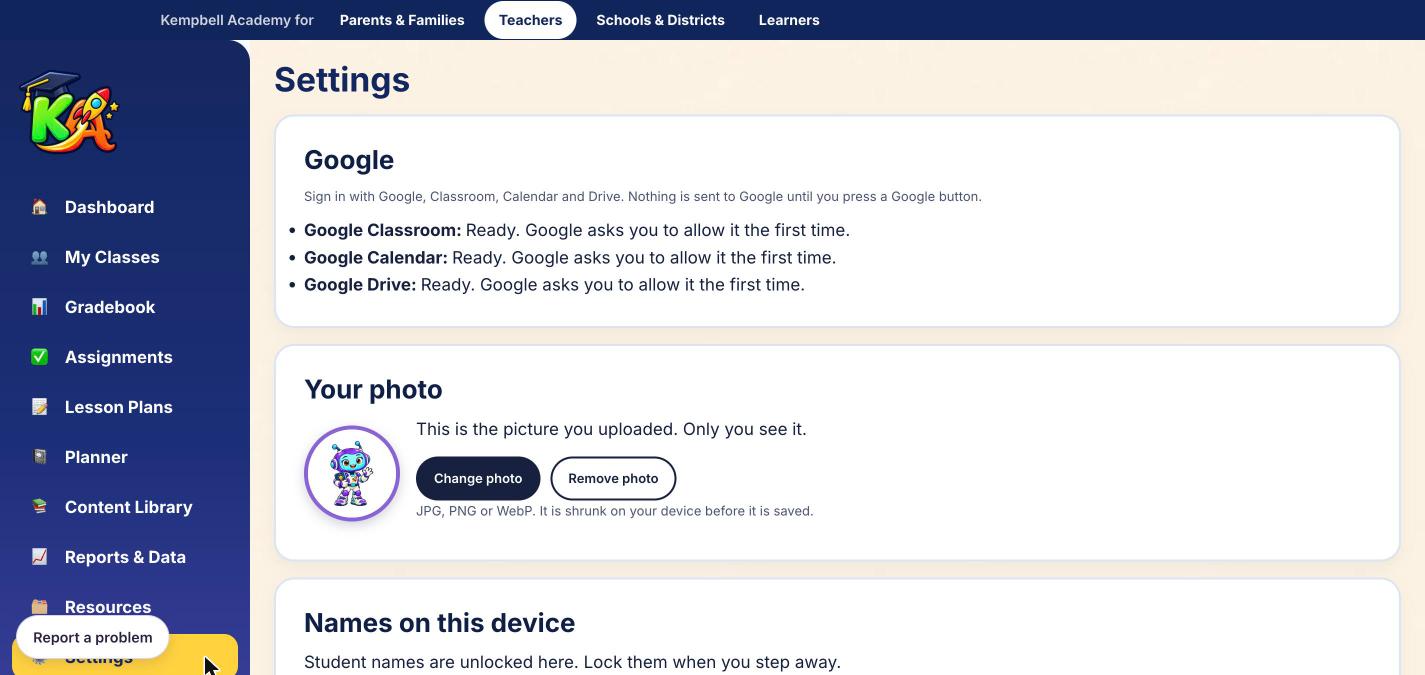
| Settings | Google connections, your photo, and the lock for student names on this device. |
Inside each class
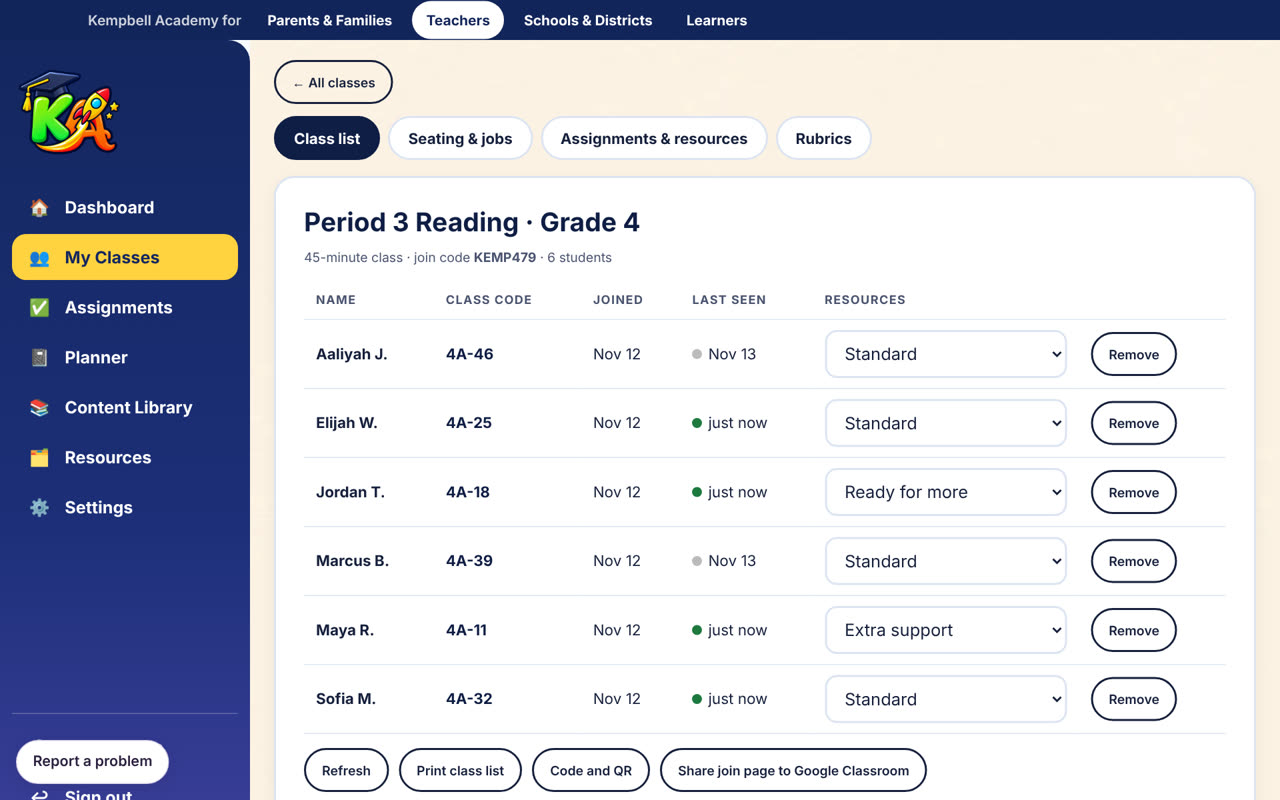
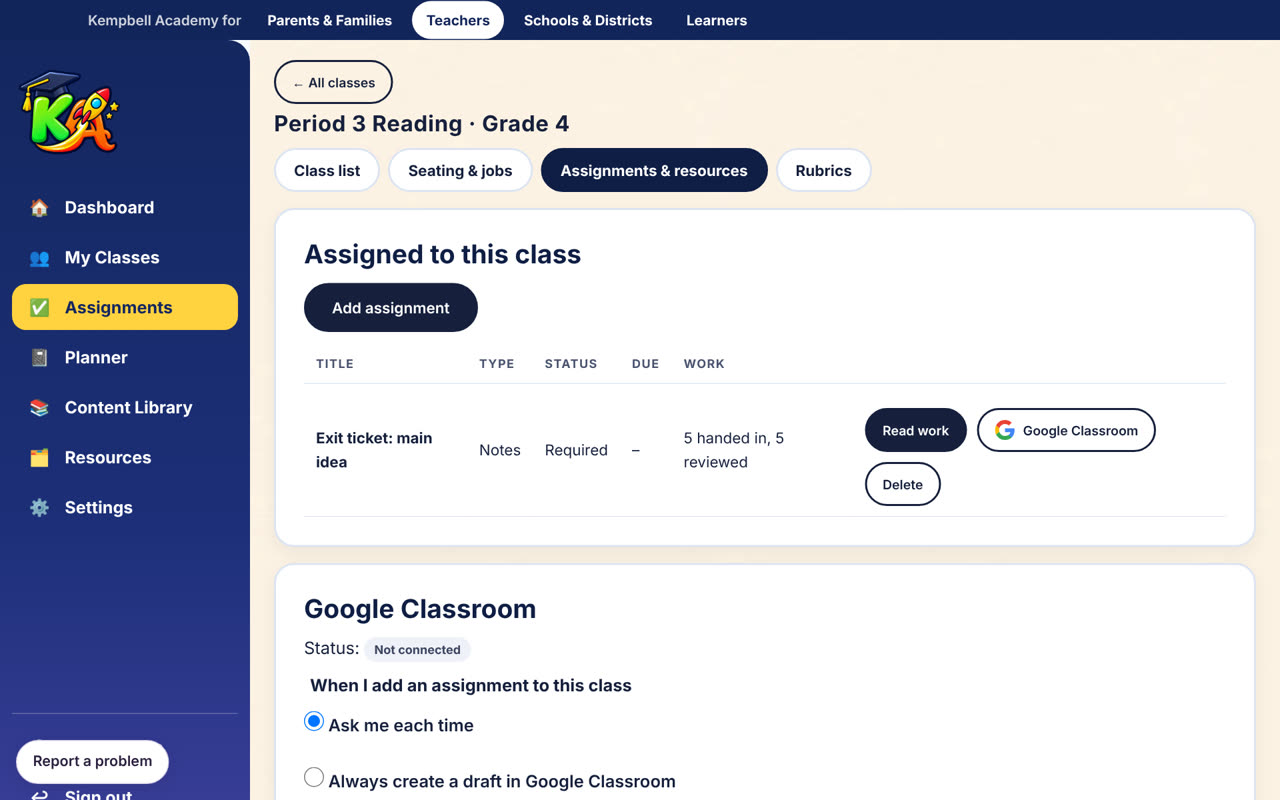
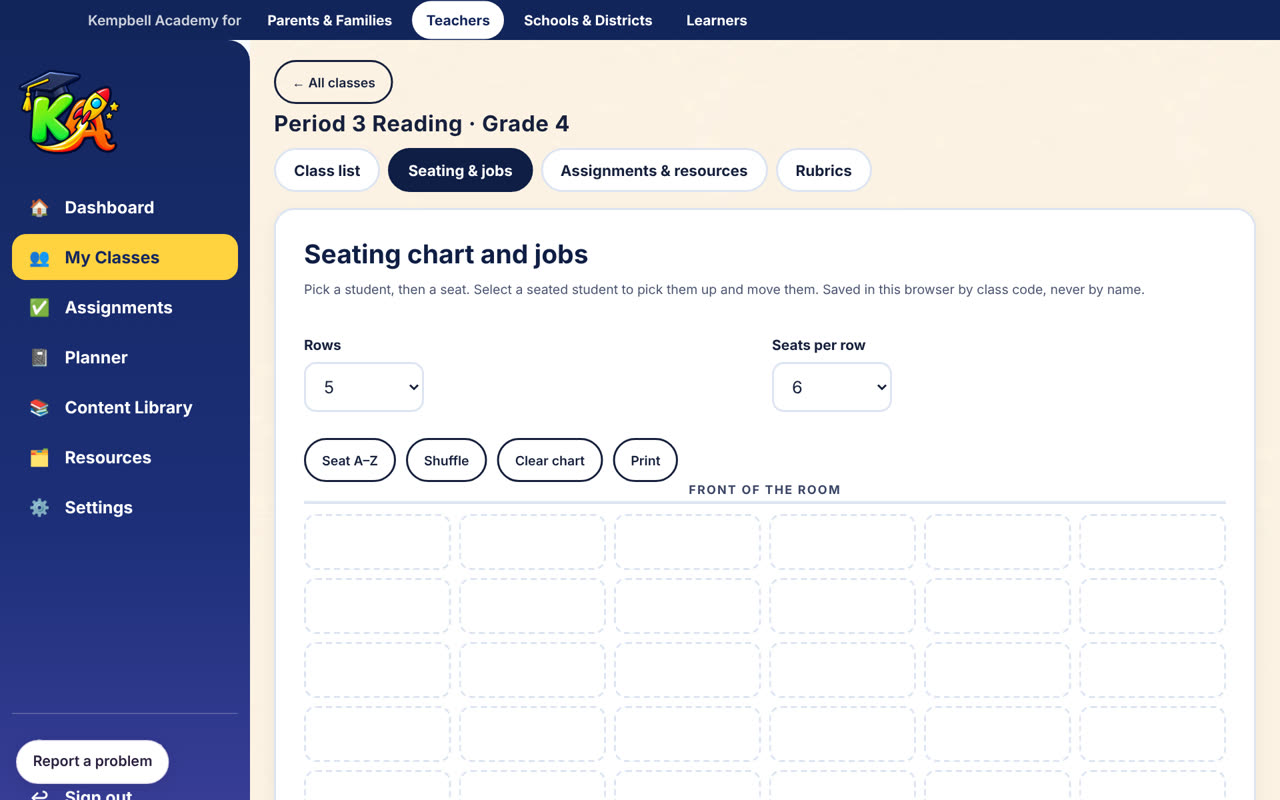
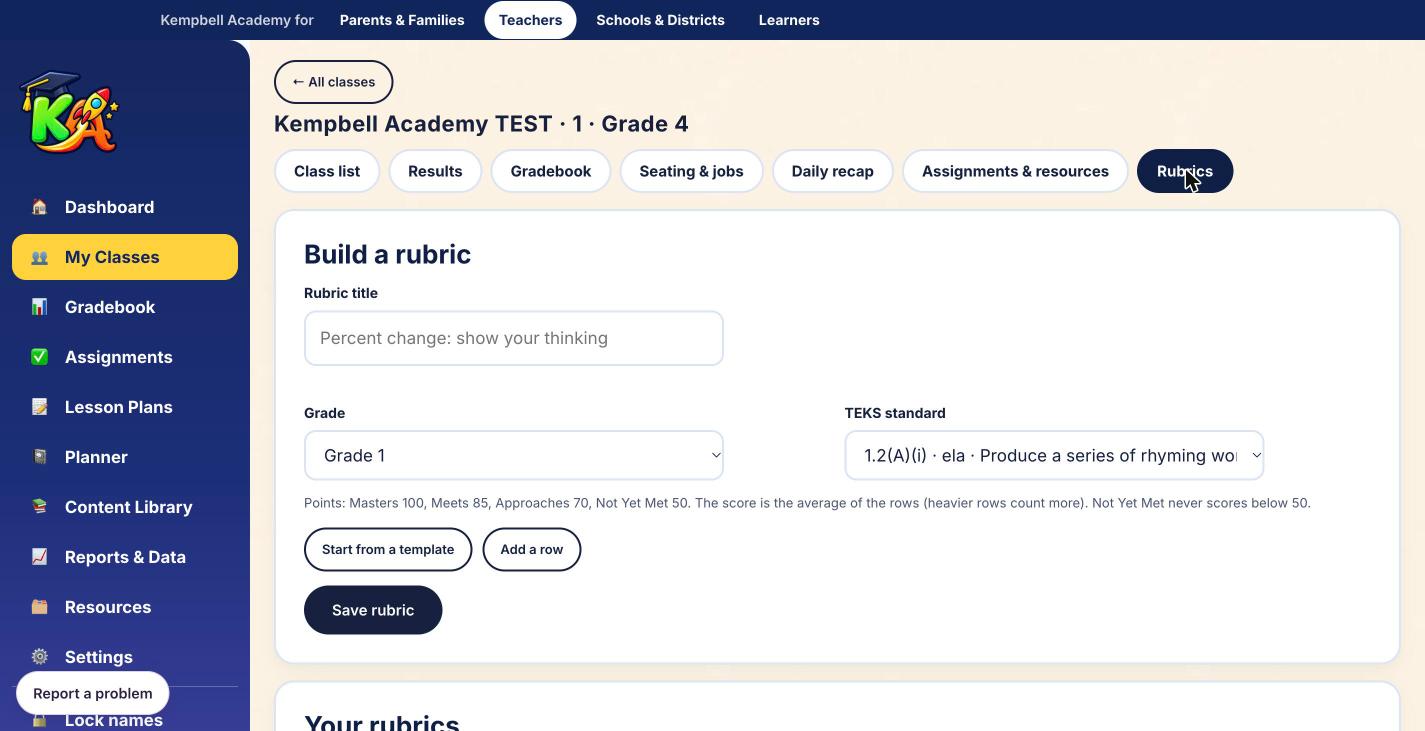
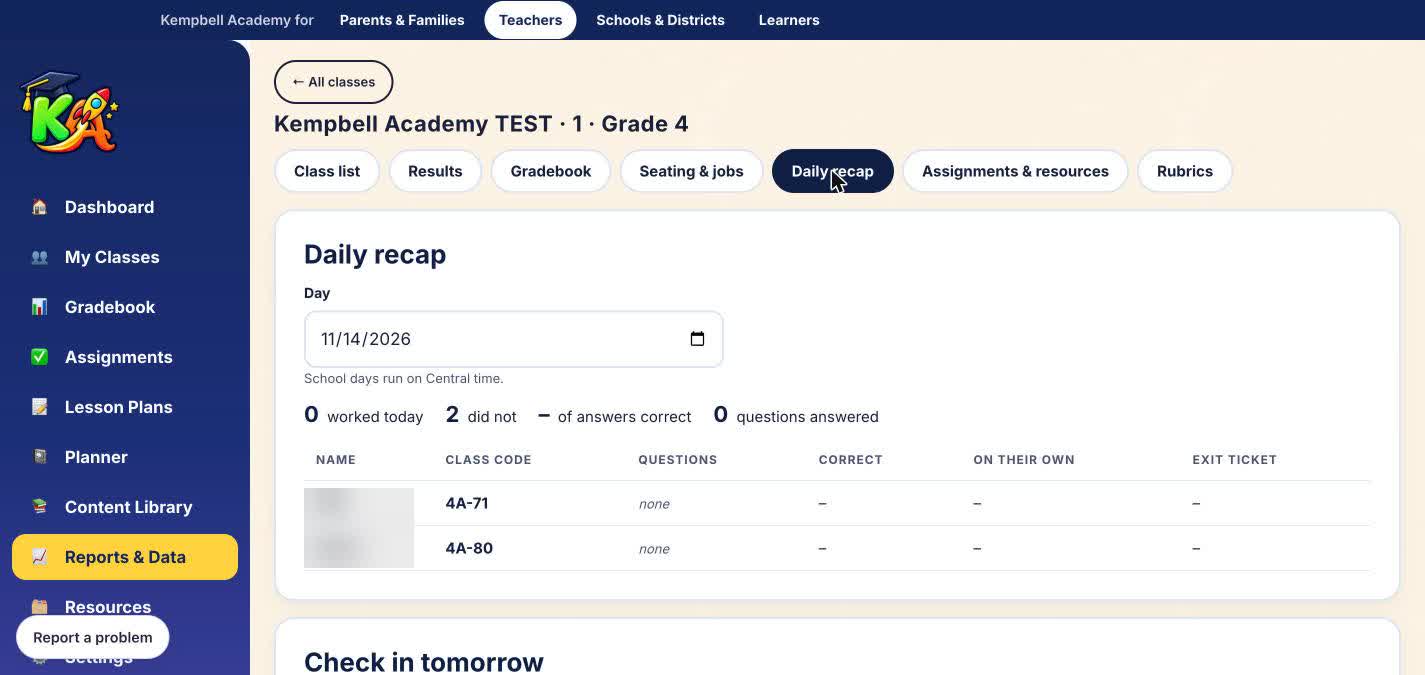
Open a class from My Classes to see tabs along the top: Class list, Results, Gradebook, Seating & jobs, Daily recap, Assignments & resources and Rubrics.
Plan a lesson with Kempbell Teacher Studio
Lesson Plans opens Kempbell Teacher Studio, our lesson planner. You tell it the grade, topic, time and class size. It matches Texas standards (TEKS) and builds a draft plan you can use tomorrow. The draft is built from rules and templates, so read it and change anything that does not fit your class. Nothing you type is sent to Kempbell, and please keep student names out of it.
The five steps
Along the top of the planner you will see five steps. Work left to right, or jump to any of them.
| Step | What you do |
|---|---|
| 1. Pick a standard | Describe your lesson in your own words, or type a TEKS code. |
| 2. Your class | Set class size, minutes and supports. |
| 3. Plan the lesson | Read your draft plan and the five teaching moves. |
| 4. After teaching | Enter exit ticket scores by seat and get groups for tomorrow. |
| 5. What's next | Choose what comes next: your sequence, your data or your own choice. |
Plan your first lesson
- Open Lesson Plans in the left menu, then choose Open the lesson plan builder.
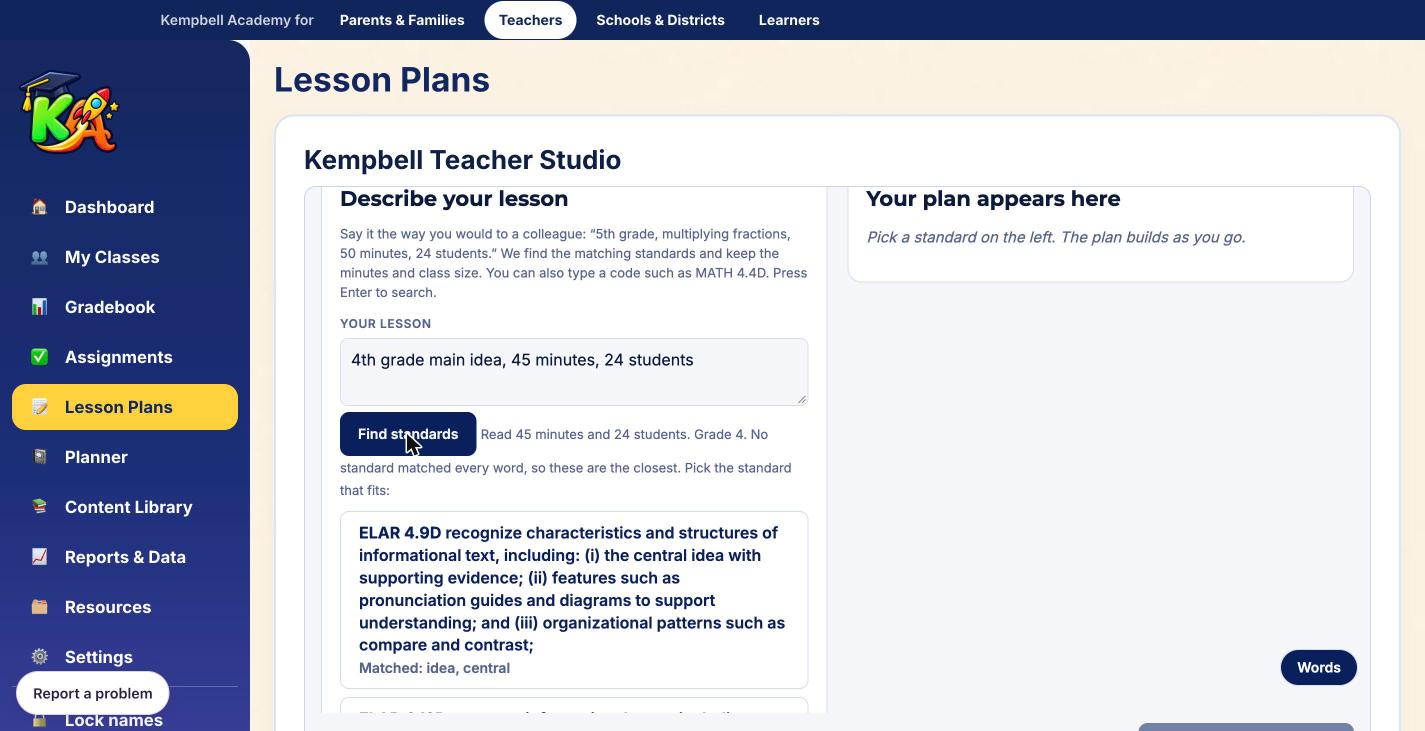
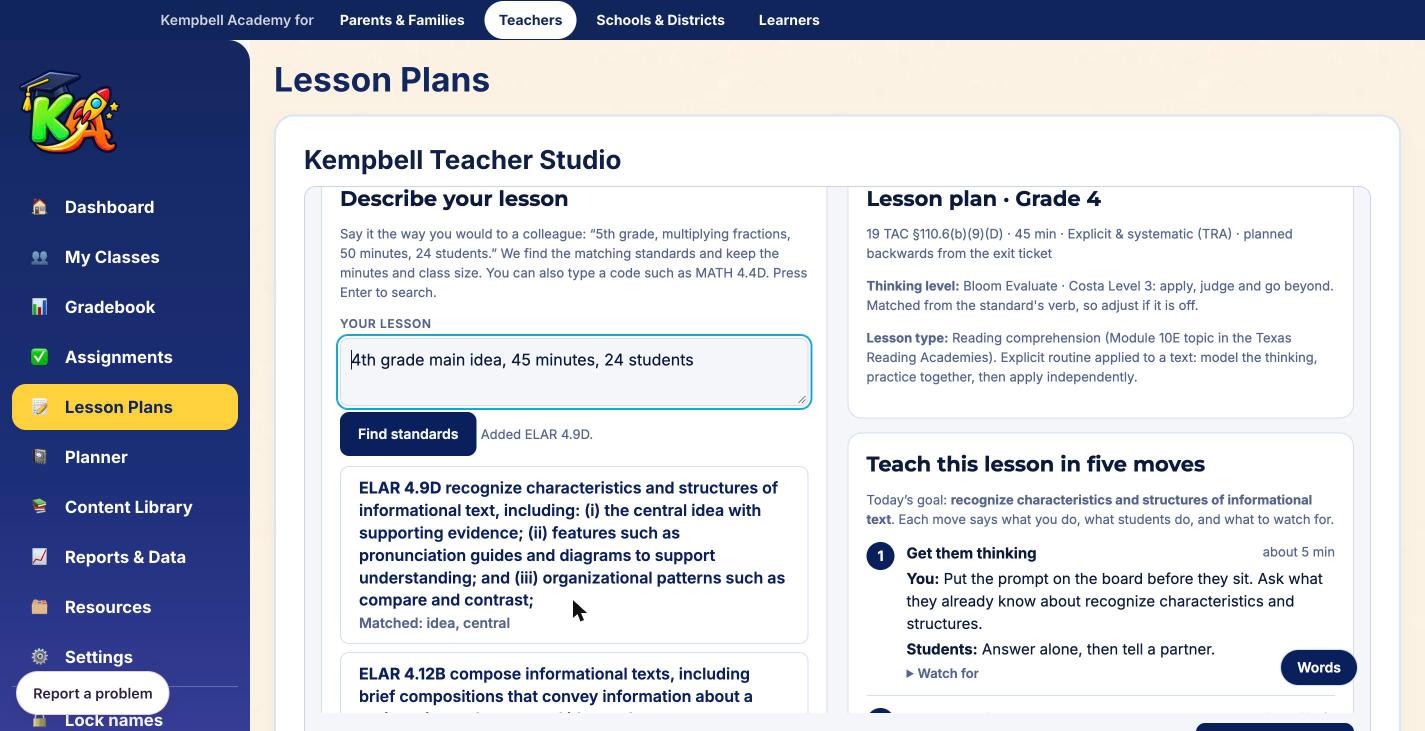
- Choose 1. Pick a standard. In the box, say it the way you would to a colleague, such as "4th grade main idea, 45 minutes, 24 students." The planner reads the grade, minutes and class size for you.
- Choose Find standards. Select the standard that fits. You can add more than one.
- Your lesson plan appears on the right. Read it from the top.
What your plan includes
- Objectives and thinking level: a learning objective, a language objective, an essential question and success criteria.
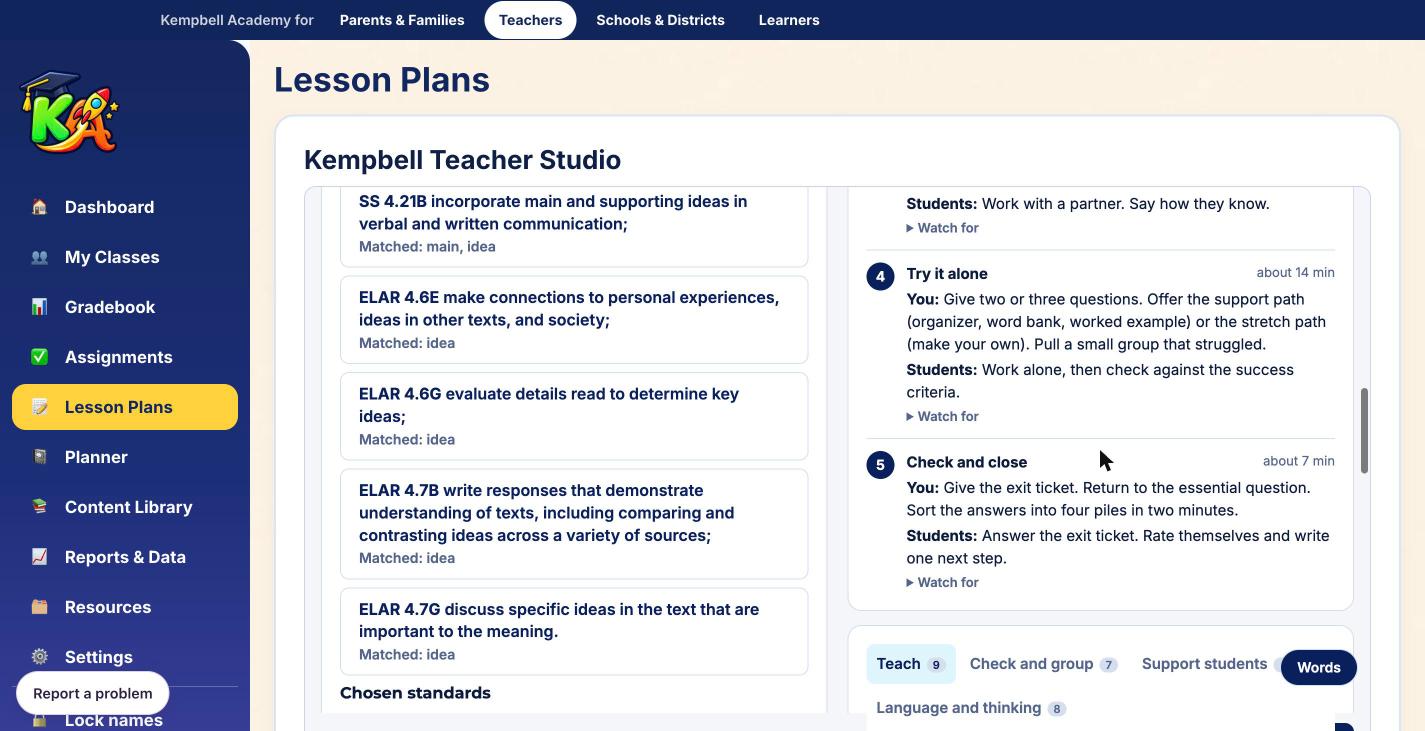
- Teach in five moves: each move says what you do, what students do and what to watch for, with a time for each.
- Exit ticket: a short check for the end of the lesson.
- Differentiation: a support path and a stretch path.
More help under your plan
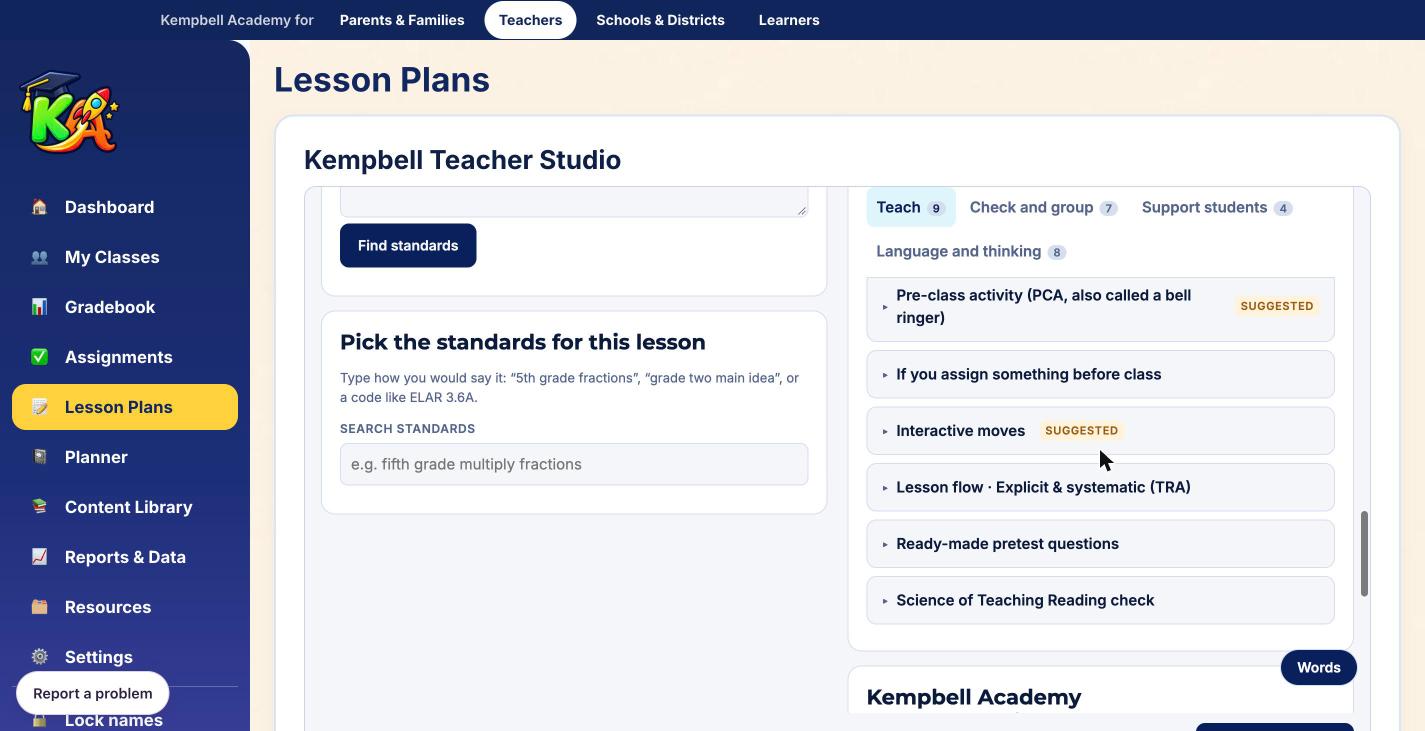
Below the five moves are tabs with extra ideas: Teach, Check and group, Support students and Language and thinking. Open an item to read it. Items marked Suggested are the ones we think fit this lesson best, such as a pre-class activity or interactive moves.
After the lesson
- Choose 4. After teaching.
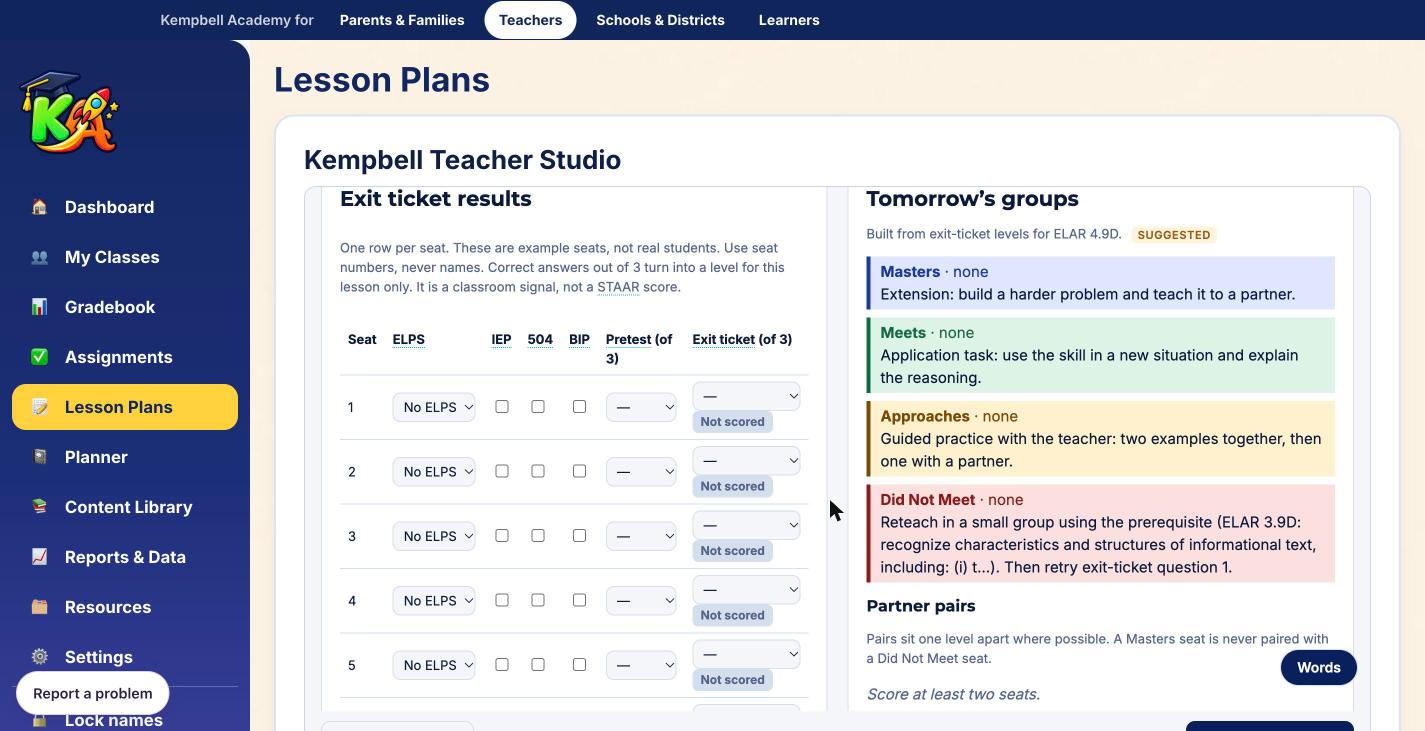
- Find your seat numbers in Exit ticket results. For each seat, enter the exit ticket score out of 3. You can also add a pretest score and mark supports such as ELPS, IEP, 504 or BIP.
- The planner turns the scores into a level for this lesson and fills in Tomorrow's groups and Partner pairs, with a next move for each group.
Use seat numbers, never student names. The levels are a classroom signal for this lesson only. They are not STAAR scores.
Save, print and other options
- Save this plan to Google Docs: optional. The file goes to your own Google Drive. Kempbell sees only the file it makes.
- Print or save as PDF: use your browser's print window.
- Cover an absence: switch from My own lessons to Cover an absence to build a plan for a guest teacher.
- Upload your current plan: see how it lines up with what a strong plan names.
For more detail, see the Teacher Studio guide.
Common tasks
Start a class and get students in
- Select My Classes, then Add a class. Enter a name, the grade and the schedule length.
- Show the join code on your board, or choose Code and QR.
- Students go to kempbellacademy.com/join/ and enter the code, then first name and last initial in two boxes.
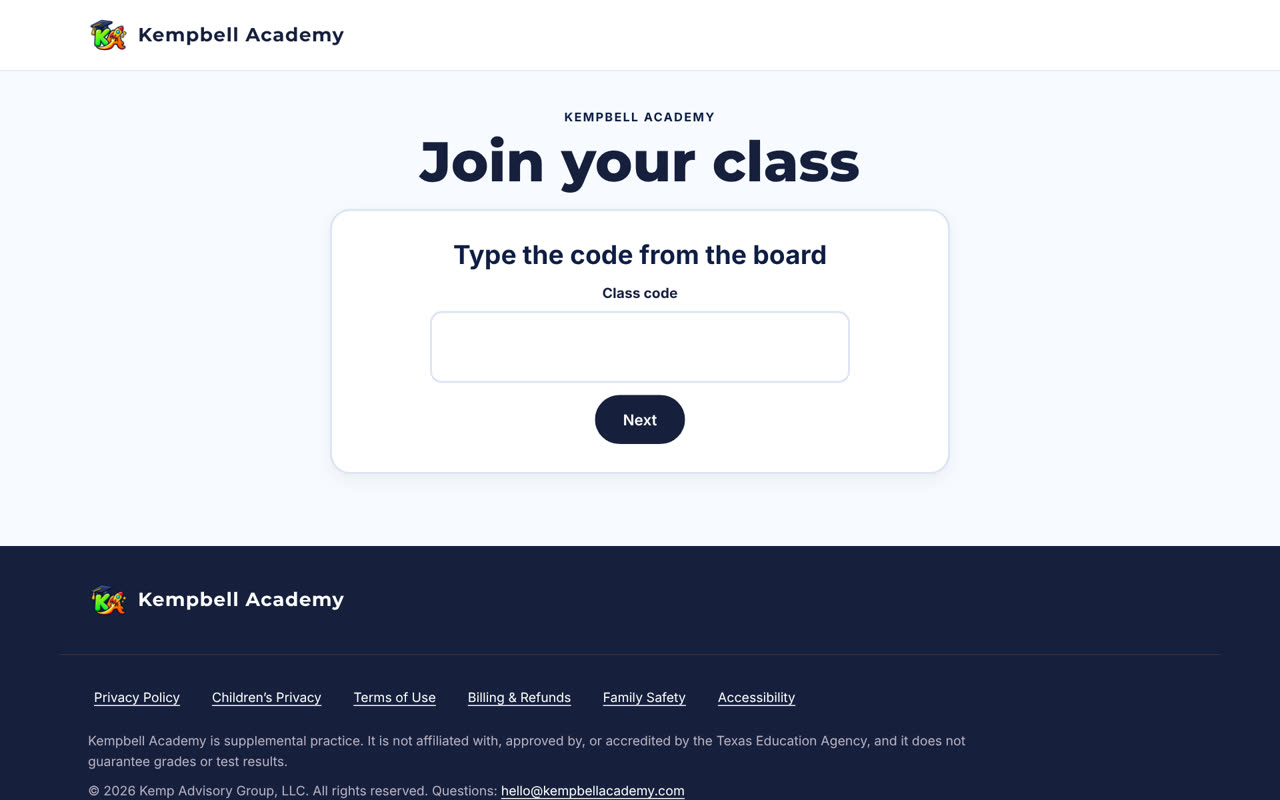
Join codes expire, and each class shows the date next to its code. Choose New code to make another.
Assign work
- Open the class, then Assignments & resources.
- Choose Add assignment: a graphic organizer, a group-talk activity or a note to students.
- Add instructions and an optional due date, then assign it.
Plan your week
- Open Planner and add events on the calendar, or sync it with Google Calendar or Outlook.
- Save lesson ideas to your Notebook.
- Use Seating & jobs in a class for your seating chart.
Privacy and good habits
- Students never make accounts. Keep to first names and last initials.
- The portal can lock student names on your device. If you see class codes where names should be, choose Unlock names.
- Use Sign out when you share a computer.
- Kempbell Academy is supplemental practice. It does not guarantee grades or test results.
Read more in the Privacy Policy and Children's Privacy notice.
If something is not working
| What you see | Try this |
|---|---|
| Names show as class codes | Names are locked on this device. Choose Unlock names. |
| A student cannot join | Check the class code and its expiry date, and make sure the first name and last initial are in separate boxes. |
| Invite code is not accepted | Codes work once. Email us for a new one. |
| A page looks blank or stuck | Refresh, or sign out and back in. |
| Anything else | Use Report a problem at the bottom of the left menu, or email hello@kempbellacademy.com or call 1 (833) 387-1777. |
Words you will see
| Word | Meaning |
|---|---|
| Join code | The code for a whole class. You share it with students. |
| Class code | A private code for one student, used when names are locked. |
| Standard, Extra support, Ready for more | Labels you set per student so work can reach the right group. |
| Organizer | A graphic organizer students fill in while they work. |
| Rubric | A scoring guide you build or start from a template. |